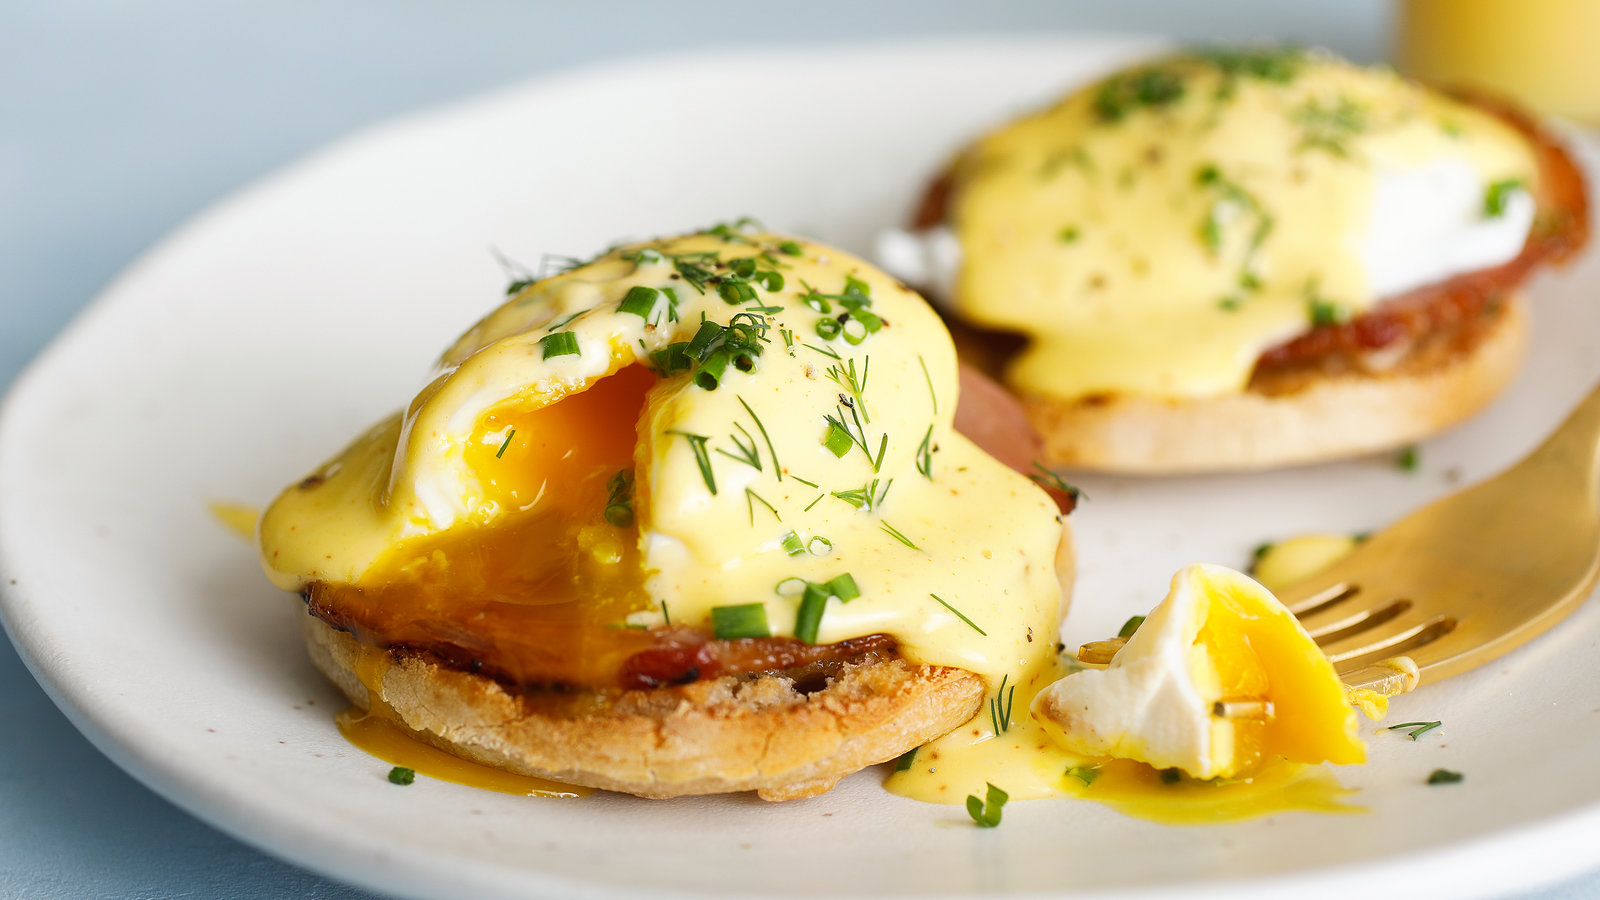
Eggs Benedict

Ingredients

  • 3 large egg yolks
  • 6 large eggs
  • 1 tablespoon freshly squeezed lemon juice
  • 1/4 teaspoon dijon mustard
  • 1/2 cup unsalted butter
  • 1 pinch cayenne pepper
  • Canadian style bacon

Directions

Poached Eggs

Using an Immersion Circulator

  1. Drop the eggs in a water bath at 145°F (62.8°C) for 45 minutes
  2. Transfer to an ice bath
  3. Bring a pot of water up to a simmer, and then lower the temperature
  4. Carefully crack and peel the eggs using a slotted spoon to separate out the loose whites
  5. Drop the eggs into the low-simmering water for 1 minute

Traditional Method

  1. Heat the water: Add enough water to come 1 inch up the side of a narrow, deep 2-quart saucier.
  2. Add 1 teaspoon kosher salt and 2 teaspoons white vinegar and bring to a simmer over medium heat.
  3. Meanwhile, crack 1 very fresh cold large egg into a custard cup or small ramekin.
  4. Use the handle of a spatula or spoon to quickly stir the water in one direction until it’s all smoothly spinning around.
  5. Add the egg: Carefully drop the egg into the center of the whirlpool. The swirling water will help prevent the white from “feathering,” or spreading out in the pan.
  6. Let it poach: Turn off the heat, cover the pan and set your timer for 5 minutes. Don’t peek, poke, stir or accost the egg in any way.
  7. Lift it out: Remove the egg with a slotted spoon and serve immediately. Alternatively, move the egg to an ice bath and refrigerate up to 8 hours. Reheat in warm water just before serving.

Canadian Bacon

  1. Heat 1 tsp butter a non-stick frying pan on medium
  2. Once pan is hot, cook the bacon until it browns on each side

Hollandaise Sauce

  1. In the container of a blender, combine egg yolks, lemon juice, and dijon. Blend until combined
  2. Place butter in a glass measuring cup and microwave at half power, stirring every 15-20 seconds, until completely melted, keeping an eye on it to make sure it doesn’t splatter, about 1 1/2 minutes total
  3. With the blender running on medium-high speed, very slowly pour the hot, melted butter into the egg yolk mixture in a steady, thin stream until all of the butter is incorporated and the sauce is thick
  4. You can keep the sauce warm by placing the blender pitcher into a container of hot water until ready to serve

Overnight Brown-Butter Yeast-Raised Waffles with Lemon Chantilly

A post shared by Ashley Covelli (@bigflavors) on

Notes

I had made this recipe for Overnight Yeasted Waffles before and they we OK. Our standard waffle recipe is very good and has become such a favorite that all of the buzz about yeasted waffles didn’t really live up to the hype. They were perhaps only marginally better.

I found this new recipe for Overnight Brown-Butter Yeast-Raised Waffles and not only did it look easier but the thought of the golden brown butter flavoring made my mouth water. I’m happy at how it turned out, but it made much less than I thought it would! Pay attention to the serving size here, you may need to double or even triple it if you’re having guests.

The Lemon Chantilly was a suggested accompaniment and somewhat of an afterthought, but it turned out to be a stellar! I ended up macerating the lemons overnight since the waffle batter was also prepared the night before.

Yield

Makes two 8-inch square waffles or three 7-inch Belgian waffles

Timing

Active Time: About 10 minutes for waffles, 15 minutes for Chantilly & Lemon Syrup
Total Time: 12 to 18 hours

Ingredients

For the Waffles

  • 3 ounces unsalted butter (6 tablespoons; 85g)
  • 3/4 ounce sugar (4 teaspoons; 20g)
  • 1 teaspoon (4g) Diamond Crystal kosher salt (for table salt, use half as much by volume or use the same weight)
  • 10 ounces cold milk; any percentage will do (1 1/4 cup; 280g)
  • 1 large egg, cold
  • 7 1/2 ounces all-purpose flour (1 1/2 cups; 210g)
  • 1 1/4 teaspoons (4g) instant dry yeast (not rapid-rise)
  • 1/4 teaspoon baking soda
  • Safflower, vegetable, or canola oil for greasing the iron, if needed

For the Lemon Chantilly

  • 4 ounces (1/2 cup; 110g) heavy whipping cream, cold
  • 2 ounces (1/4 cup; 55g) fresh lemon syrup, cold
  • 1/8 ounce (1 tablespoon; 4g) freshly grated lemon zest

For the Lemon Syrup

  • 15 ounces (2 1/2 cups; 425g) “used” lemon rinds, from 6 medium lemons or 12 Meyer lemons
  • 7 ounces (1 cup; 200g) sugar

Instructions

For the Batter

  1. Melt butter in a 3-quart stainless steel saucier or saucepan, stirring and scraping with a heat-resistant spatula as it bubbles, and cook until golden brown.
  2. Remove from heat and immediately stir in sugar, salt, and milk, followed by egg.
  3. Sift in flour and stir until smooth.
  4. Add yeast and baking soda last, stirring to combine.
  5. Cover and refrigerate overnight, between 12 and 18 hours. The batter should be gooey and spongy at this point.

For the Lemon Syrup

  1. Cut each lemon into a few chunks and toss with sugar in a large glass, ceramic, or stainless steel mixing bowl. Cover tightly and let stand at room temperature, stirring once every 45 minutes or so, until sugar has completely dissolved, about 3 hours (or up to 12 if timing is an issue).
  2. Using a cheesecloth-lined or fine-mesh stainless steel strainer set over a nonreactive bowl, strain syrup.
  3. Working in batches, transfer rinds to a stainless steel potato ricer and squeeze to release any extra syrup, allowing it to pass through strainer into bowl; discard rinds. Refrigerate syrup for up to 3 months in a glass bottle or pint jar.

For the Lemon Chantilly

  1. In the bowl of a stand mixer fitted with a whisk attachment, combine cream, lemon syrup, and zest (if using).
  2. Whip at medium-high speed until fluffy and thick, about 5 minutes. Use immediately, or refrigerate for up to 1 week in an airtight container. For piping, re-whip the Chantilly after 24 hours.

For the Waffles

  1. Set waffle iron to medium and preheat until the indicator is ready; if using cast iron, brush lightly with safflower, vegetable, or canola oil.
  2. For an 8-inch square machine, scrape in half of the batter per batch. For a 7-inch Belgian machine, scrape in about one-third.
  3. Close lid and griddle until golden brown but still steaming, 5 to 7 minutes depending on the depth and heat of your machine. (Cooked waffles can be held on a rack in a 200°F oven while remaining batches are cooked.)
  4. Serve immediately with Lemon Chantilly and/or maple syrup.

Pecan-Orange Granola with Dried Cranberries

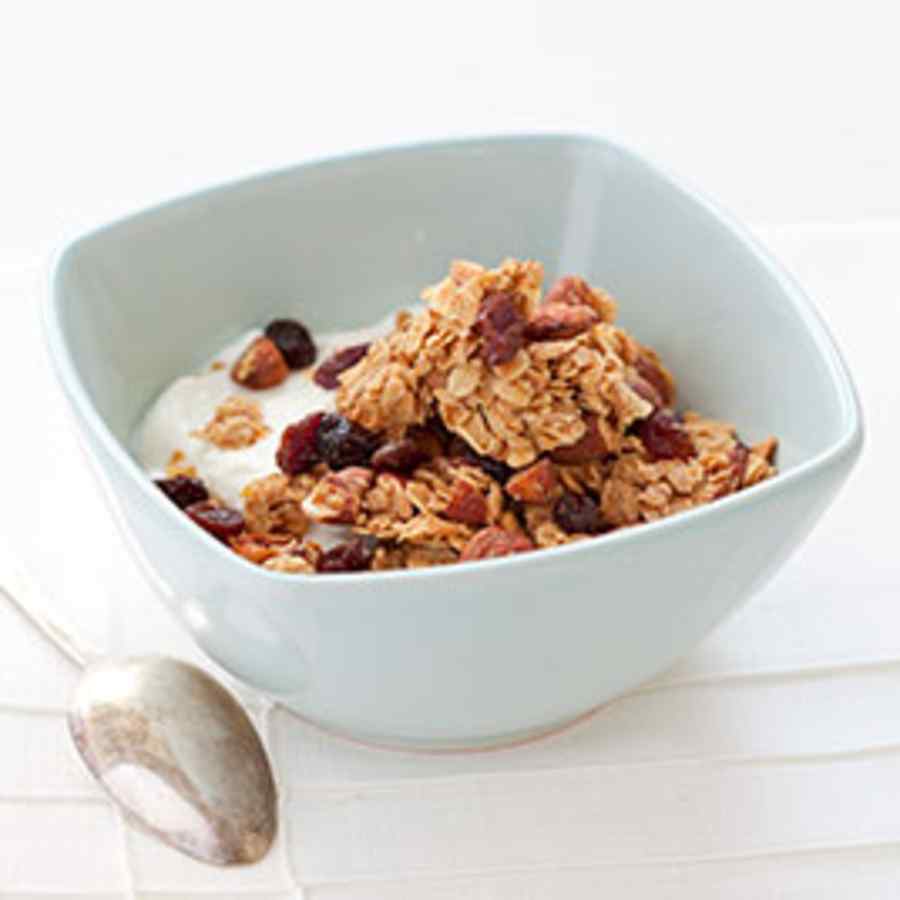
BY COOK’S ILLUSTRATEDPecan-Orange Granola with Dried Cranberries

WHY THIS RECIPE WORKS

Store-bought granola suffers from many shortcomings. It’s often loose and gravelly and/or infuriatingly expensive. We wanted to make our own granola at home, with big, satisfying clusters and crisp texture. The secret was to firmly pack the granola mixture into a rimmed baking sheet before baking. Once it was baked, we had a granola “bark” that we could break into crunchy clumps of any size.

INGREDIENTS

cup maple syrup

2tablespoons finely grated orange zest
2 ½teaspoons ground cinnamon
cup packed (2 ⅓ ounces) light brown sugar
4teaspoons vanilla extract
½teaspoon salt
5cups old-fashioned rolled oats
2cups (10 ounces) pecans, chopped
2cups dried cranberries

INSTRUCTIONSMAKES ABOUT 9 CUPS

Chopping the almonds by hand is the first choice for superior texture and crunch. If you prefer not to hand chop, substitute an equal quantity of slivered or sliced almonds. (A food processor does a lousy job of chopping whole nuts evenly.) Use a single type of your favorite dried fruit or a combination. Do not use quick oats.


1. Adjust oven rack to upper-middle position and heat oven to 325 degrees. Line rimmed baking sheet with parchment paper.
2. Whisk maple syrup, orange zest, cinnamon, brown sugar, vanilla, and salt in large bowl. Whisk in oil. Fold in oats and pecans until thoroughly coated.
3. Transfer oat mixture to prepared baking sheet and spread across sheet into thin, even layer (about 3/8 inch thick). Using stiff metal spatula, compress oat mixture until very compact. Bake until lightly browned, 40 to 45 minutes, rotating pan once halfway through baking. Remove granola from oven and cool on wire rack to room temperature, about 1 hour. Break cooled granola into pieces of desired size. Stir in dried cranberries. (Granola can be stored in airtight container for up to 2 weeks.)

RECIPE TESTING

Granola Gone Wrong

Most store-bought granola is so bad (and so overpriced), we’re surprised anyone ever buys it.

Without oil to provide moisture, fat-free versions contain dry, dusty oats. Baked with the other ingredients, dried fruit turns tough and leathery. Loose oats, versus chunks, too readily absorb the milk or yogurt and turn soggy.

STEP-BY-STEP

Keys to Chunkier Granola

PRESS DOWN

Spread oat mixture onto parchment-lined baking sheet. Press it firmly with spatula to create compact layer.

BAKE BUT DON’T STIR

Bake granola at 325 degrees for 40 to 45 minutes. Rotate pan halfway through baking but don’t stir.

BREAK UP

Break cooled granola “bark” into pieces as large as you’d like.

RECIPE TESTING

For Better Granola, Add Fat

When we mixed up a batch of granola in which we left out the oil, the resulting cereal was a real flop, the oats having taken on a crisp but overly dry consistency. It turns out that fat is essential for creating a likable crispness.

Here’s why: When the water in a viscous liquid sweetener (like the maple syrup in our recipe) evaporates in the heat of the oven, the sugars left behind develop into a thin coating on the oats and nuts. But without any fat, the sugar coating will become brittle and dry. Only oil can provide a pleasantly crisp coating with a sense of moistness.