Homemade Thin Mint-Inspired Cookies

Makes 2 dozen

For the cookies:

  • 1 3/4 cups flour
  • 3/4 cup unsweetened cocoa powder
  • 1/2 teaspoon baking soda
  • 1 teaspoon salt
  • 1 cup unsalted butter, at room temperature
  • 1/2 cup sugar
  • 2 teaspoons peppermint extract

For dipping:

  • 12 ounces dark chocolate, chopped (I used 1/2 Hershey’s special dark and half Ghirardelli 60% or 72%, I can’t remember now)
  • 1 to 2 teaspoons peppermint extract (or more/less depending on your taste) (I used 1.5 ts)
  1. Preheat oven to 350° F. Line two baking sheets with parchment paper or nonstick baking mats.
  2. In a medium bowl, combine flour, cocoa powder, baking soda, and salt.
  3. In the bowl of a stand mixer, beat butter and sugar until light and fluffy, about five minutes. Scrape down the sides of the bowl and add the peppermint extract, then mix to combine.
  4. In two additions, add the flour/cocoa mixture to the butter, scraping down the sides of the bowl as you go. Beat until just combined and still slightly crumbly. Gather the dough into a ball, flatten slightly, and wrap in plastic wrap. Chill for 30 minutes.
  5. After the dough has chilled, roll out on a well-floured surface to 1/4-inch thick. Cut dough using a small round cutter (if you want to go true Thin Mint, go for one with fluted edges). Gather scraps and reroll, adding more flour if necessary. You should get about two dozen small cookies. (Not only did I multiply the recipe by 6x or 8X but I rolled it closer to 1/8, which was too thin and made way too many cookies)
  6. Transfer cookies to prepared baking sheets and bake 20 minutes. Allow to cool completely on pans. They will seem very crumbly when you pull them out of the oven, but will firm up as they cool.
  7. After cookies have cooled, melt chocolate in a double boiler until smooth. Stir in peppermint extract, to taste.
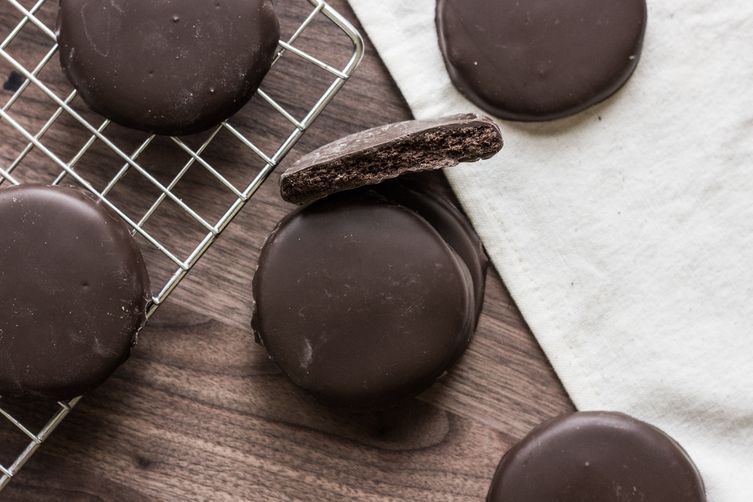
  8. Using a fork, dip cookies in chocolate, coating both sides and allowing excess to drip off. Place on a wire baking rack to dry. Store in an airtight container for up to one week.

Soba-Cha Pudding (Roasted-Buckwheat Custard)

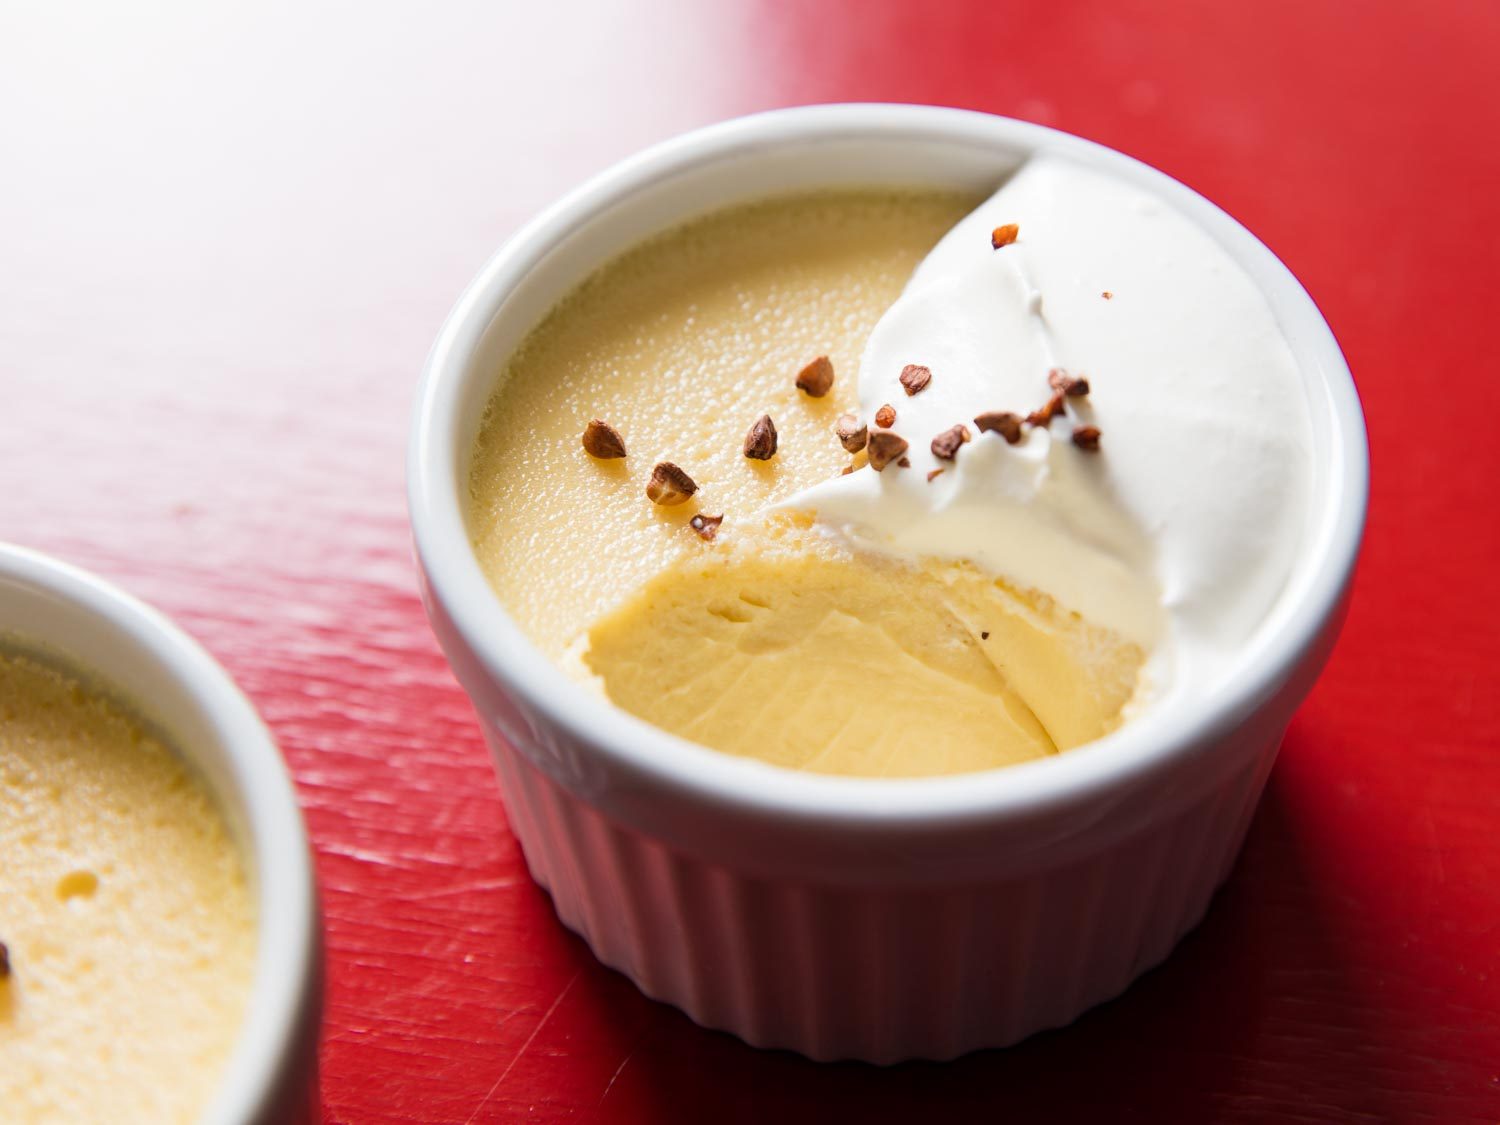
These egg custards are rich and dense, with a silky-smooth texture. The secret ingredient is Japanese roasted-buckwheat tea (called soba-cha). Somewhat similar to chestnuts, the buckwheat adds a deeply nutty, toasted flavor that pairs beautifully with the lightly sweet dairy in the custards.

Recipe courtesy of Serious Eats.

Yield: Serves 4
Active time: 30 minutes
Total time: 5 hours 30 minutes

Ingredients

  • 12 ounces heavy cream (1 ½ cups; 355ml), plus more as needed
  • 1 ½ ounces soba-cha, or roasted-buckwheat tea (¼cup; 45g), plus more for garnish (see note)
  • Pinch kosher salt
  • 6 large egg yolks (about 4 ounces; 115g)
  • 3 ounces sugar (7 tablespoons; 85g)
  • Whipped cream, for garnish

Special Tools

  • 4 (4- or 6-ounce) ramekins
  • fine-mesh strainer
  • flexible rubber or silicone spatula
  • instant-read thermometer

Directions

  1. Preheat oven to 300°F (150°C). Bring a kettle of water to a boil. In a medium saucier or saucepan, combine cream with soba-cha and bring to a bare simmer over medium heat, stirring and scraping the bottom and sides frequently with a rubber or silicone spatula to prevent scorching. Remove from heat and let steep for 5 minutes.
  2. Fine-strain infused cream into a heatproof measuring cup, pressing down on soba-cha to extract as much liquid as possible. Discard soba-cha. Add enough fresh cream to infused cream to top it up to 1 1/2 cups total. Season with a scant pinch of salt.
  3. In a clean medium saucier or saucepan (you can also use the same one from step 1, as long as it has cooled sufficiently that it won’t cook the yolks), whisk egg yolks with sugar, then pour hot infused cream into egg yolk mixture while whisking constantly. Set over medium-low heat and cook, stirring and scraping bottom and sides of pot with a rubber or silicone spatula, until custard registers 140°F (60°C) on an instant-read thermometer. Remove from heat.
  4. Fine-strain custard, then divide into ramekins and set ramekins in a baking dish. Cover baking dish with aluminum foil, leaving a small opening in the foil, and transfer to oven. Pour prepared boiling water into baking dish, being careful not to splash it into ramekins, until water comes about 3/4 of the way up the ramekin sides. Seal foil and bake custards until just set, 30 to 45 minutes.
  5. Carefully remove baking dish from oven, making sure not to slosh water, and let custards cool in water bath for about 1 hour. Remove ramekins from water bath, cover with plastic, and refrigerate until fully chilled, at least 3 hours.
  6. Custards can be refrigerated for up to 5 days. To serve, top with whipped cream and garnish with a few stray roasted buckwheat seeds.

Classic Pound Cake

We retooled the classic pound cake recipe to make it ultraplush every time. Our first big discovery was to start with chilly 60-degree butter, since room-temperature butter became too warm after all the creaming that was needed to combine the large quantities of butter and sugar in the cake. We found that the eggs also needed to be at 60 degrees so that they would not deflate the batter as they were added. Finally, we chose cake flour (all-purpose flour was too protein-rich and delivered dry, tough cakes), but the flour’s softness required that we not overwork the batter when adding it. Sifting the flour over the batter and folding it in by hand was the method that worked best.

Read Less

  1. Ingredients  

16        tablespoons unsalted butter, chilled, plus extra for greasing pan

3          large eggs plus 3 large yolks

2          teaspoons vanilla extract

1 ¾      cups (7 ounces) cake flour, plus extra for flouring pan

½         teaspoon salt

1 ¼      cups (8 3/4 ounces) sugar

Instructions

Makes one 9 by 5-inch loaf

As directed in the recipe, the butter and eggs should be the first ingredients prepared so that they have a chance to stand at room temperature and lose their chill while the oven heats, the loaf pan is greased and floured, and the other ingredients are measured. Leftover cake will keep reasonably well for up to three days if wrapped tightly in plastic wrap and stored at room temperature.

1. Cut butter into 1-tablespoon pieces and place in bowl of stand mixer; let stand at room temperature for 20 to 30 minutes to soften slightly (butter should reach no more than 60 degrees). Beat eggs and yolks and vanilla in 2-cup liquid measuring cup until combined. Let egg mixture stand at room temperature until ready to use.

2. Adjust oven rack to middle position and heat oven to 325 degrees. Generously butter 9 by 5-inch loaf pan; dust pan liberally with flour and knock out excess.

3. Fit stand mixer with paddle and beat butter and salt on medium-high speed until shiny, smooth, and creamy, 2 to 3 minutes, scraping down bowl as needed. Reduce speed to medium and gradually pour in sugar (this should take about 60 seconds). Once all sugar is added, increase speed to medium-high and beat until mixture is fluffy and almost white in color, 5 to 8 minutes, scraping down bowl as needed.

4. Reduce speed to medium and gradually add egg mixture in slow, steady stream (this should take 60 to 90 seconds). Scrape down bowl. Increase speed to medium-high and beat mixture until light and fluffy, 3 to 4 minutes (mixture may look slightly broken). Remove bowl from mixer and scrape down bowl.

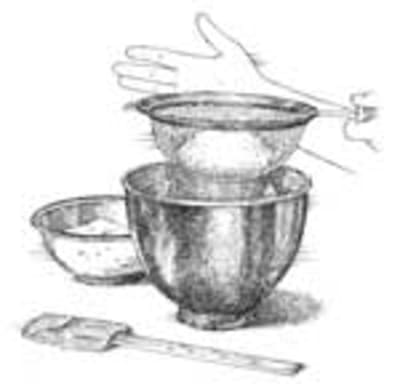
5. In 3 additions, sift flour over butter mixture; after each addition, fold gently with rubber spatula until combined. Scrape bottom of bowl to ensure that batter is homogenous.

6. Transfer batter to prepared loaf pan and smooth surface with rubber spatula. Bake until golden brown and wooden skewer inserted in center of cake comes out clean, 1 hour 10 minutes to 1 hour 20 minutes. Let cake cool in pan on wire rack for 15 minutes; invert cake onto wire rack, then turn cake right side up. Let cake cool completely on wire rack, about 2 hours. Slice and serve.

Technique

Slow As You Go

Pound cake batter is so delicate that it will deflate if you add the eggs one at a time or add the flour too quickly, as most recipes suggest.

EGGS: : With mixer running, pour in beaten egg mixture in slow, steady stream.

FLOUR: Sift flour over batter in three additions, folding in each addition with spatula.

Recipe Testing

Unsuccessful Creaming

Cool butter and thorough mixing are essential to our pound cake recipe. These photos demonstrate unsuccessful creaming.

OVERCREAMED BATTER: Once sugar has been incorporated, butter temperature will rise to about 75 degrees. Batter will be very soft and look slick, shiny, and wet.

ROOM TEMPERATURE BUTTER: Room temperature butter (70 degrees) yields completely to pressure.

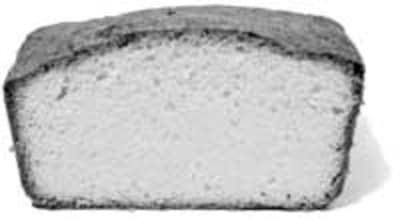
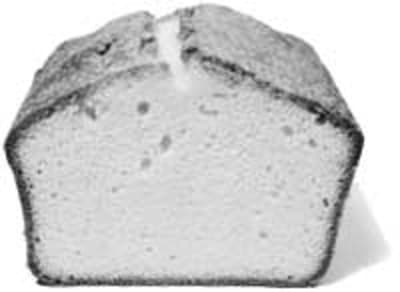
FLAT CAKE: Cake will be flat and dense.

Recipe Testing

Successful Creaming

Cool butter and thorough mixing are essential to our pound cake recipe. These guidelines will help you determine when the butter is at the correct temperature and when the butter and sugar are properly creamed.

DOMED CAKE: Cake will dome nicely.

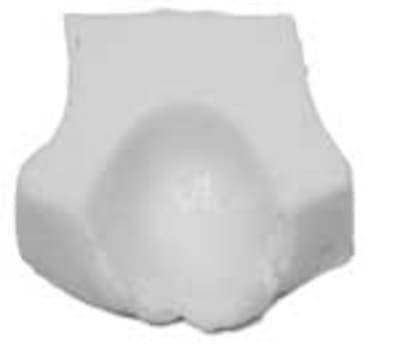
CHILLY BUTTER: Cool butter (60 degrees) yields slightly to pressure and will crack when pressed.

PERFECTLY CREAMED BATTER: Once sugar has been incorporated, butter temperature will rise to about 68 degrees. Batter will be light, fluffy, and off-white in color.